
In lineage layers, not only are the entities or relationships to be displayed defined, but also which aggregation relationships are applied in each layer.
If an aggregation relationship is not applied to a layer, the relationship will be displayed as a simple line between the source and target entity nodes. However, if it is applied, the relationship will be represented as contained, meaning that one object will appear hierarchically included within another.
For example:
-
In one layer, a DSA may not group any contained entity and display all its relationships linearly.
-
In another layer, the same DSA can be configured to aggregate only the datasets it contains.
-
In a third layer, the DSA can be configured to aggregate all the entities it contains (datasets, reports, etc.).
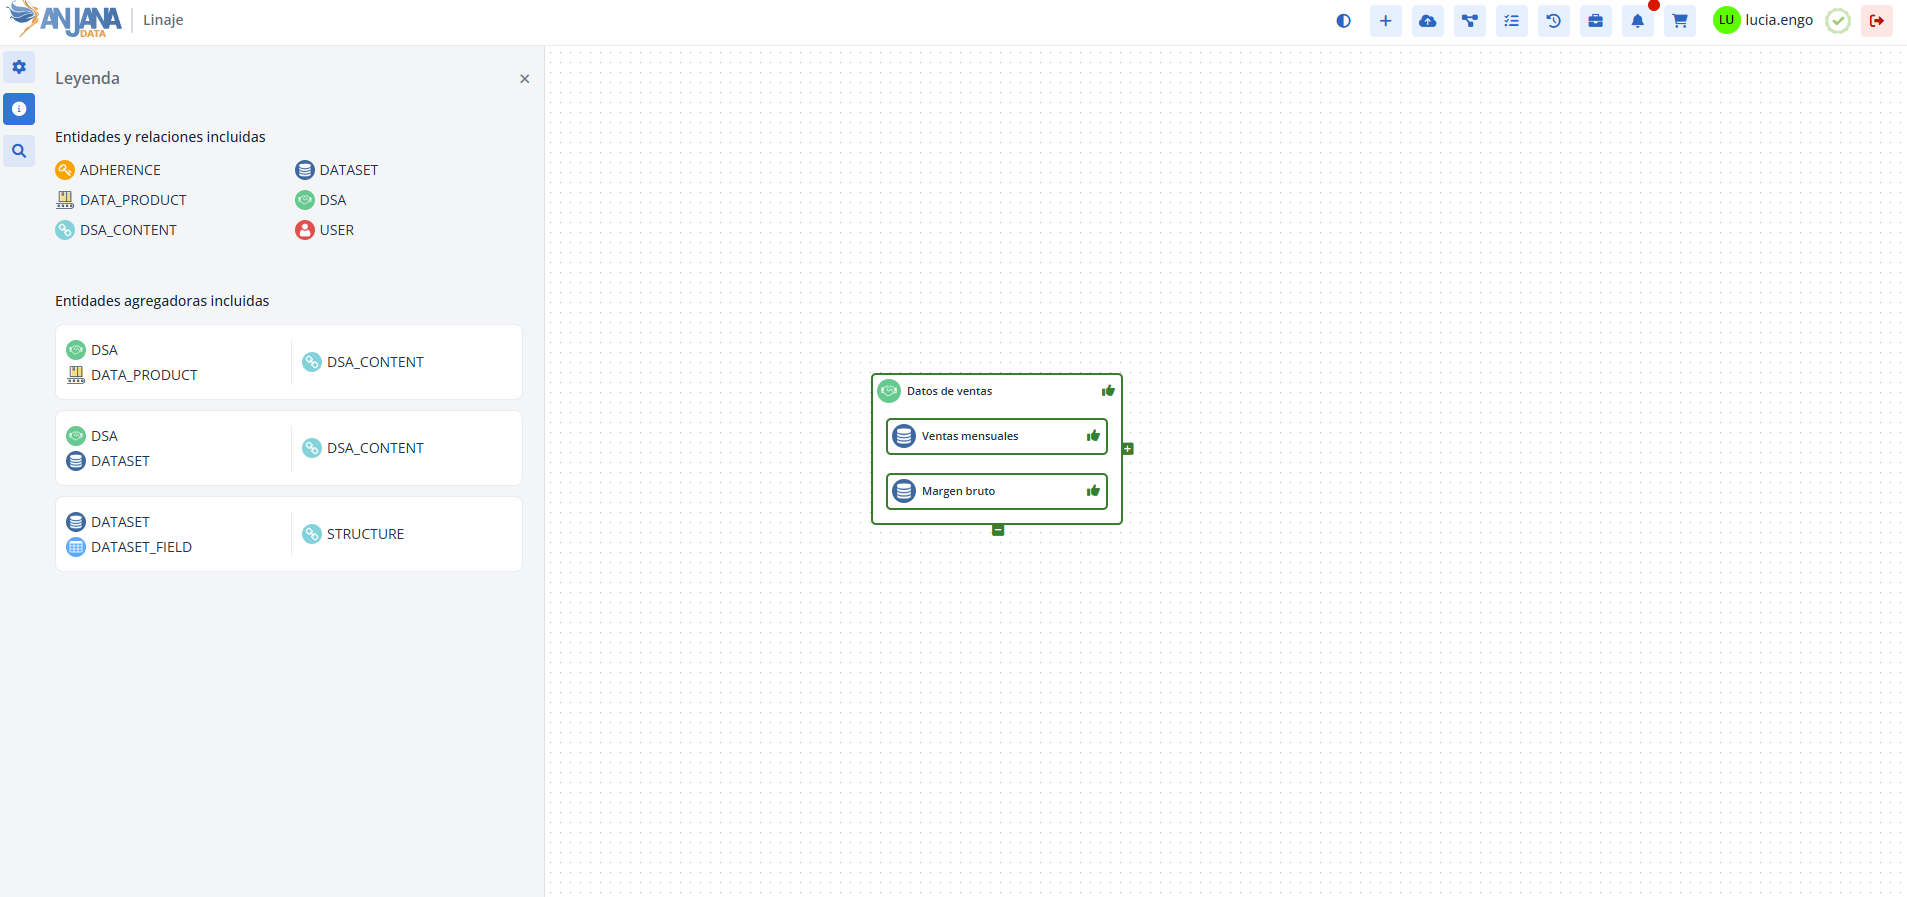
The Layer Grouping table in the Configuration Panel (Administrator view)
Managing which layers a relationship acts as an aggregation relationship in is done from the Configuration Panel, in the Layer Grouping table.
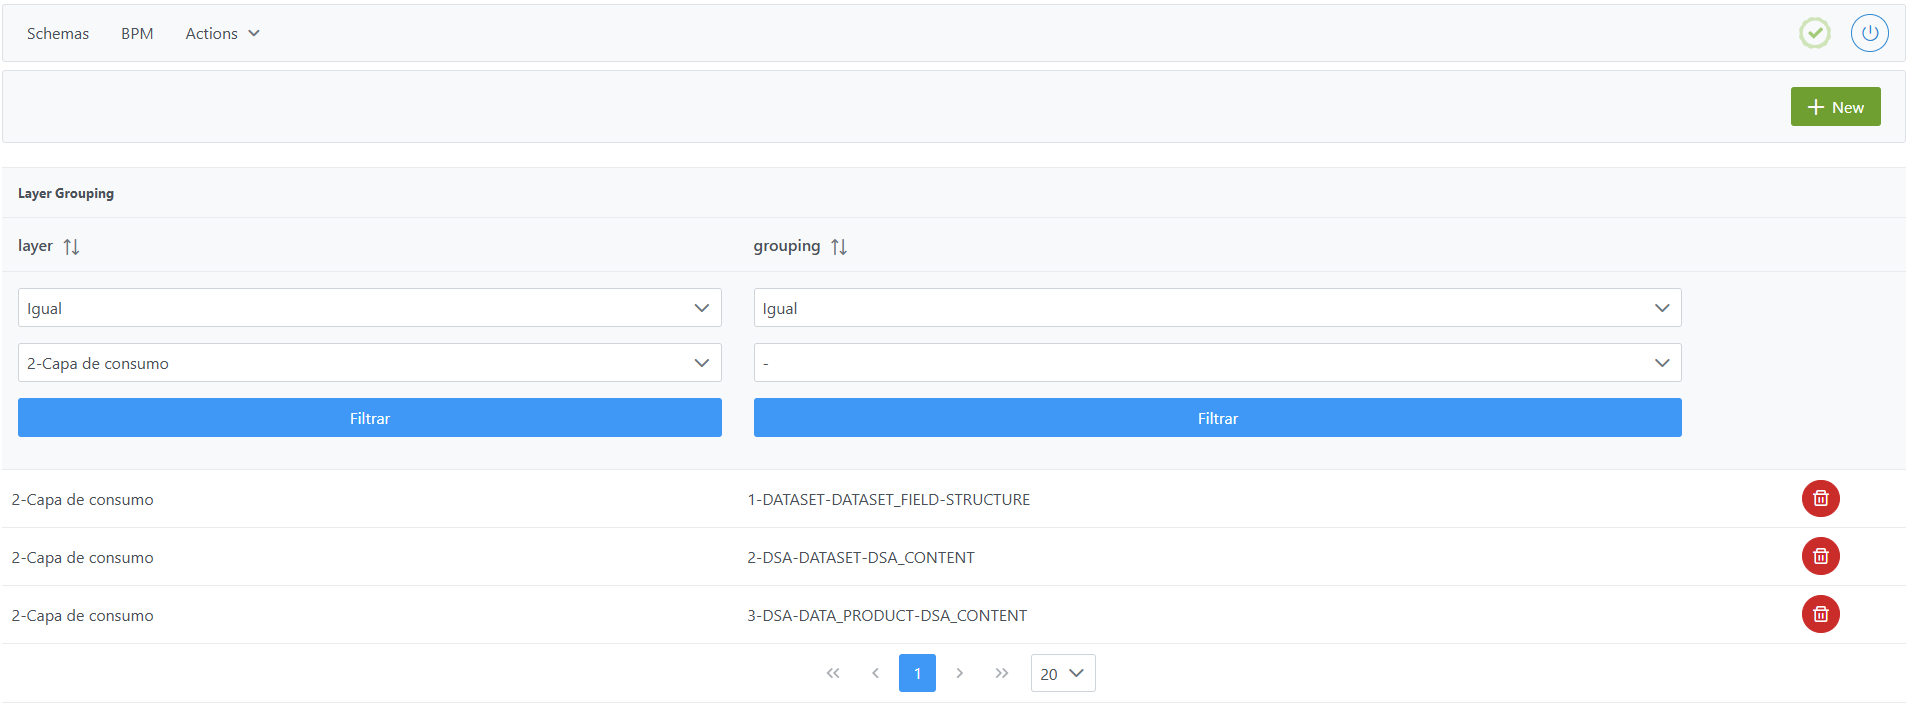
Structure of the Layer Grouping table
Each aggregation relationship applied to a layer is characterized by the following elements:
-
layer: layer identifier, taken from theLayertable. -
grouping: identifier of the aggregation relationship previously defined in theGroupingtable.
Important:
These relationships will only be displayed in the lineage as aggregation relationships if they have the isParental = true flag in the Object Sub-Types table. Otherwise, they will be displayed as a flat relationship.
Creating an Aggregation Relationship in a layer in the Layer Gouping table
Creating a new aggregation relationship in a layer involves creating a record in the layerGrouping table indicating which of the relationships configured as an aggregation relationship acts as such. It requires these relationships to have been previously configured in the Grouping table.
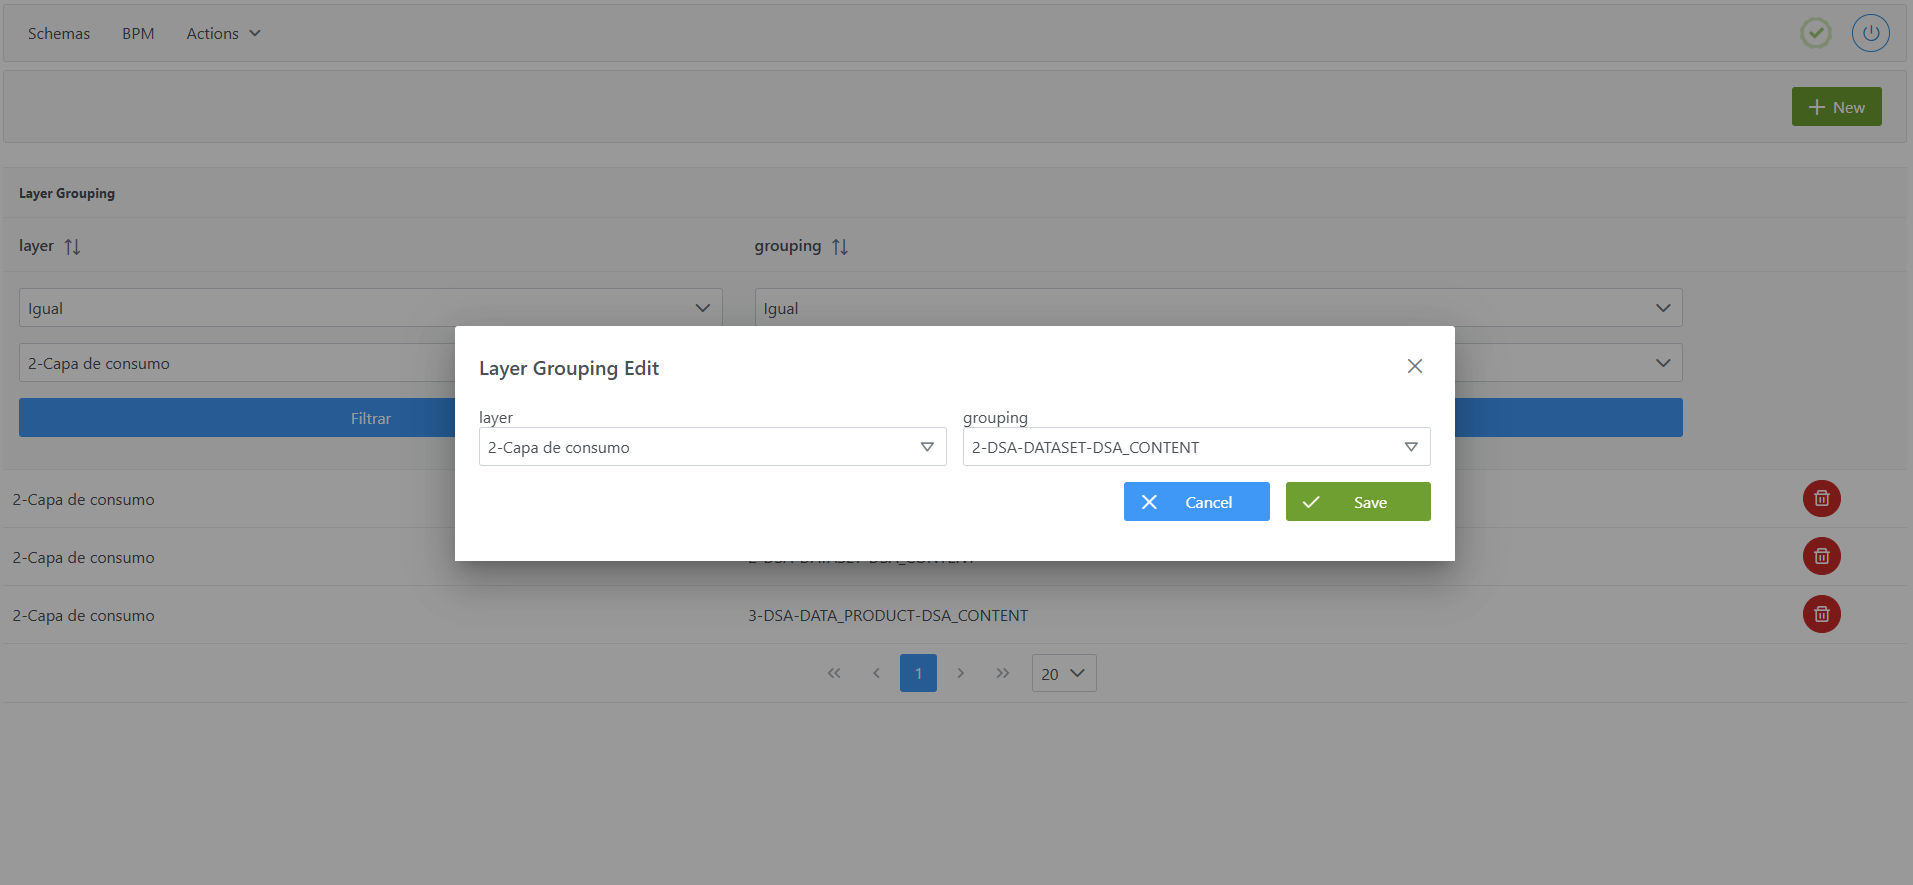
Steps from the Configuration Panel:
-
Click the New button in the top right corner.
-
Fill in the fields:
-
layer: select the layer to which the aggregation will be applied. If the desired layer is not shown, review the configuration of theLayertable. -
grouping: select the aggregation relationship defined in the grouping_lineage table. If the desired relationship is not shown, review the configuration of theGroupingtable.
-
-
Click Save to save or Cancel to discard.
Note: After creating the record, it is necessary to run the Clear cache action from the Configuration Panel (Actions > Clear cache) for the changes to take effect and be visible in the Data Portal.
Modifying an Aggregation Relationship in a layer in the Layer Gouping table
The modification of an aggregation applied to a layer can be carried out at any time, since it does not affect the governed objects in the Data Portal, but only the way in which the lineage is displayed.
The modification consists of deleting the existing record in the Layer Grouping table and creating a new record with the desired configuration.
Note: After the modification, it is necessary to run the Clear cache action from the Configuration Panel (Actions > Clear cache) for the changes to take effect and be visible in the Data Portal.
Configuring Aggregation Relationships in lineage layers via direct database access (Developer view)
Layer aggregations are stored in the anjana.layer_grouping table.
|
Column |
Type |
Constraints / Notes |
|---|---|---|
|
layer_id |
int4 |
NOT NULL. FK to |
|
grouping_id |
int4 |
NOT NULL. FK to |
Below is an example script to configure different aggregation relationships in the Consumption Layer:
INSERT INTO anjana.layer_grouping (layer_id, grouping_id)
VALUES
  (2, 1),
  (2, 2),
  (2, 3);
Important:
-
Once the insert has been executed, run the sequence update for the table. (From the Configuration Panel, under
Actions > Reset DQ sequences, the sequences of all tables can be updated, including this one). -
The entire responsibility for the configuration logic falls on the developer who executes the SQL queries directly on the tables. It is recommended to carefully review the Table Structure section.